
Sometime around 3 a.m. on July 5 last summer, as I drove along Whitney Portal Road, I thought about a lyric from Phoebe Bridgers’ album “Punisher.” “Why would somebody do this on purpose when they could do something else?”
I was on my way to a trailhead where I would begin the hardest hike I’d ever done: a grueling 16-hour-long ascent to the top of Mt. Whitney. The excitement and butterflies from the past few weeks had become pure nerves. I hoped I had done enough training before my first attempt to hike to the top of the tallest mountain in the lower 48.
Newsletter
Get The Wild newsletter.
The essential weekly guide to enjoying the outdoors in Southern California. Insider tips on the best of our beaches, trails, parks, deserts, forests and mountains.
You may occasionally receive promotional content from the Los Angeles Times.
I’ll spoil the ending: I succeeded in reaching the roughly 14,505-foot the summit and made it back to the Whitney Portal safely. The sights I saw along the way — Lone Pine Lake at dawn, mule deer serenely grazing in a golden-hour meadow — made all my hard work feel worth it. The staggering beauty of the trail, plus the satisfaction of bagging the peak, is why many peopleapplyfor a hiking permit every year. The U.S. Forest Service’s 2021 lottery for the Mt. Whitney Trail is open until March 15, in case you’re interested in making the trek yourself. (Yep, permits are required May through October, and there are always more applicants than available permits.)
The main trail in summer and fall isn’t a technical climb, but that doesn’t mean it’s remotely easy. Though speedy hikers tackle the 22-mile round-trip trek in less than 10 hours, others take more than 20 hours from start to finish. About 20% of hikers trying to reach the summit reportedly turn back. And the trail’s notorious 99 switchbacks above 12,000 feet are every bit as brutal as they sound.
And it can be dangerous. Last November, a 34-year-old nurse, hiking alone, died after a 100-foot fall left her stranded for two nights in the cold. To understand the risks of hiking Whitney unprepared, read Megan Michelson’s chilling piece about an early-season attempt in Outside Online. I didn’t encounter much ice or snow on my hike, but it’s important to keep an eye on the conditions and feel comfortable turning around if you get in over your head.
The best advice I can give to take on Mt. Whitney: lots of prep hikes. I credit the hikes around Southern California that I completed in the weeks before for my ability to reach the summit and return home in one piece.
If you’re thinking about applying for a permit to hike Whitney and wonder how to train, here’s what I did.
1. Frequent short conditioning hikes (1,500-3,500 feet in elevation, 1-2 hours each)
If you’re thinking about applying for a permit for Mt. Whitney, you already enjoy day hiking. In the months leading up to my permit date, I took any opportunity to hike — after work, early in the morning on weekends, you name it. I frequented easy-to-get-to trails such as Temescal Canyon, Los Liones, and Sandstone Peak, all in the Santa Monica Mountains, which offer sparkling ocean views as well as opportunities to train. Find your own go-to trails and hike at least three times a week.
2. Tackle big local peaks, like Mt. Wilson (5,712 feet high, 14.5 miles, more than 5,000 feet of gain)
The first lengthy day hike I attempted was Mt. Wilson Trail, up to the observatory, from Sierra Madre. There’s no sugarcoating it: The 14.5-mile trek made my three-mile hikes seem puny. At times, the trail felt like it would never end, which wasn’t a bad thing. Little Santa Anita Canyon offers plenty of stunning scenery and interesting historical markers to distract from the aching in your legs. Reaching Mt. Wilson Observatory felt like a real accomplishment, even though I knew there was more training ahead before hiking Whitney.
Though you can hike from Sierra Madre to Mt. Wilson Observatory by way of Little Santa Anita Canyon, some surrounding areas are closed due to damage from the Bobcat wildfire. Hiking Mt. Baldy may be a good alternative, once the snow melts.
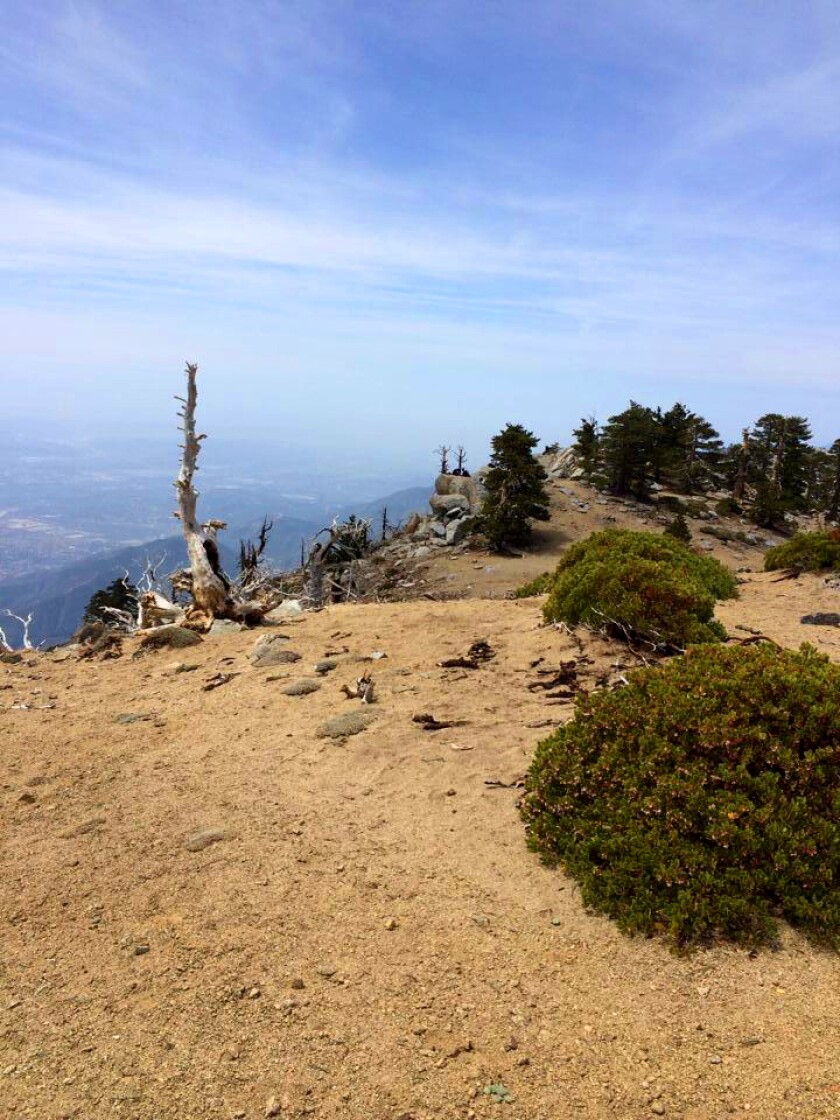
The trail to the top of Cucamonga Peak.
(Mary Forgione / Los Angeles Times)
3. Cucamonga Peak (8,858 feet high, 12 miles, 4,314 feet of gain)
By the time I worked up to hiking Cucamonga Peak, which proved less crowded than nearby Mt. Baldy, I felt like I was hitting my stride. The trail along Icehouse Creek and the views of the surrounding mountains past the junction at Icehouse Saddle were so lovely that fatigue just didn’t seem to register. Even during the final stretch of my climb to the summit, I found myself passing other hikers. For the first time, I allowed myself to think: “Maybe hiking Whitney won’t be so tough after all.”
Like Mt. Baldy, Cucamonga Peak is currently snowed over; wait until the snow melts. (Free permits and Adventure Pass required.)
4. San Gorgonio Peak (11,503 feet high, 18.5 miles, 5,492 feet of gain)
Then came the hike up San Gorgonio Peak. Don’t get me wrong: The views from California’s tallest peak south of the Sierra were every bit as impressive as Cucamonga’s, if not more so. But from the very start, I struggled to catch my breath and keep a decent pace. Especially difficult was the exposed, seemingly endless final mile to the summit. This is the closest in elevation gain and miles to what Whitney will feel like. The San Gorgonio Wilderness, which includes the peak, is closed because of the El Dorado fire but expected to open soon.
I eventually made it to the top, with my confidence shaken. But I can honestly say that no section of Whitney challenged me more than some parts of the hike to San Gorgonio Peak. Though I didn’t realize it at the time, I was becoming conditioned to face Whitney.
5. The Mt. Whitney preview hike (9,174 feet high, three miles each way)
My final training hike was on the day before I climbed Whitney. To get myself acclimated to the thin air, I arrived early the day before and spent several hours at Whitney Portal, at an elevation of 8,374, and did a short hike up Mt. Whitney Trail. It was high enough to spot a gorgeous waterfall and the peak’s specter far in the distance.
I felt good. Yes, my emotions would swing to fear in just 12 hours when I was driving back in the dead of night to hike Whitney for real, but deep down I had a feeling I would be OK. And I knew that if I ever felt unsafe on the trail, I would be at peace if I decided to turn around. You can read more about the rest of my first Mt. Whitney ascent.
The training hikes I did are just a starting point. There are scores of other hikes you can use to prepare for hiking Whitney. There are also a number of websites that offer tips about how much water and supplies to bring, what to do if you face snow and storms, etc. Start with the U.S. Forest Service’s Mt. Whitney page.
If you’re undecided about applying for a permit, keep reading — and hiking. Regardless of what you end up deciding, I wish you happy trails.
If you go
Here again is the U.S. Forest Service website that tells you everything you need to know about how to get a Mt. Whitney permit. It also offers valuable tips on preparation, leave-no-trace hiking and other things you need to know about before you go. For example, you need to pack out all trash — including human waste. Rangers will give you a poop bag (and expect you to use it) when you pick up your permit. It costs $6 to apply and $15 per person for hiking permits.

